Our featured magento extensions
-
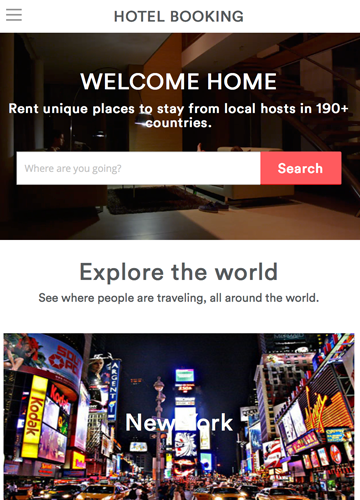
Magento Reservation and Booking System Pro
Turning on your Magento store into an online reservation and booking system. Support multi-bookable products and services.
as low as $129
-

Magento Multi Vendor Marketplace extension
Convert the Magento store into a marketplace system like Amazon, Ebay, Etsy, gives enormous features to the vendors.
as low as $299
-
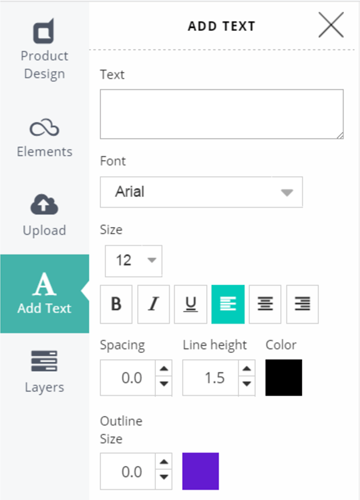
Magento Product Designer Canvas
The online designer tools for free personalizing product design with Magento. A business software for selling printed products.
as low as $399
-
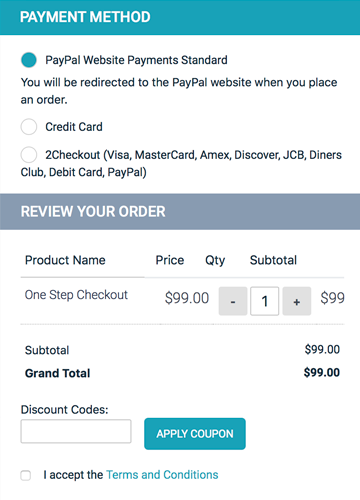
Magento One Page Checkout
Make one step checkout mobile-friendly and fastest performance. Increase your conversion rate higher.
$95
-
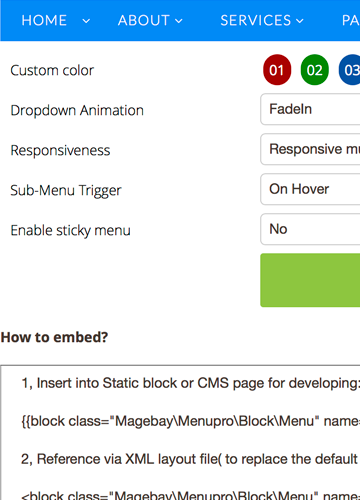
Magento Menu Creator Pro
Mega menu builder for making pro navigation of large stores. Support any menu types and CSS effects.
$95
-

Magento Mobile App
Turn all your mobile visitors into loyal customers and double your conversion with a Magento Mobile App.
$499
